How to migrate WordPress to Webflow – Steps to follow!

Follow our step-by-step guide on how to proceed with this data migration journey properly and at the same time keep your site traffic and ranking unharmed!
But first a short answer to the Why we want to do this migration.
Why migrate to Webflow?
Even though Wordpress is a great platform for building web templates, the burden of constant site maintenance, dependency on third-party hosting providers, and limited design freedom are only few of the reasons why web designers and developers should and are choosing to migrate their WordPress sites to Webflow.
The less coding work and easy drag and drop components make the further development of the site easier and faster which ultimately help your business grow.
Must follow steps when migrating your content
Below we’ll start with step-by-step instructions on how to export your database from WordPress CMS to Webflow, and then we’ll follow up with some SEO-related extras you need to be aware of. The first and most important step to migrating your database from WordPress to Webflow is exporting your content.
There are two ways to do this:
- Exporting the database through the WordPress built-in export feature
- Exporting the database through external CSV data export plugins
While the data can be exported through the WordPress built-in feature, by default it will be exported in .xml format. Therefore, we recommend using the second option through the CSV plugin, which exports your website data as a CSV file and thus is compatible to then be imported into Webflow.
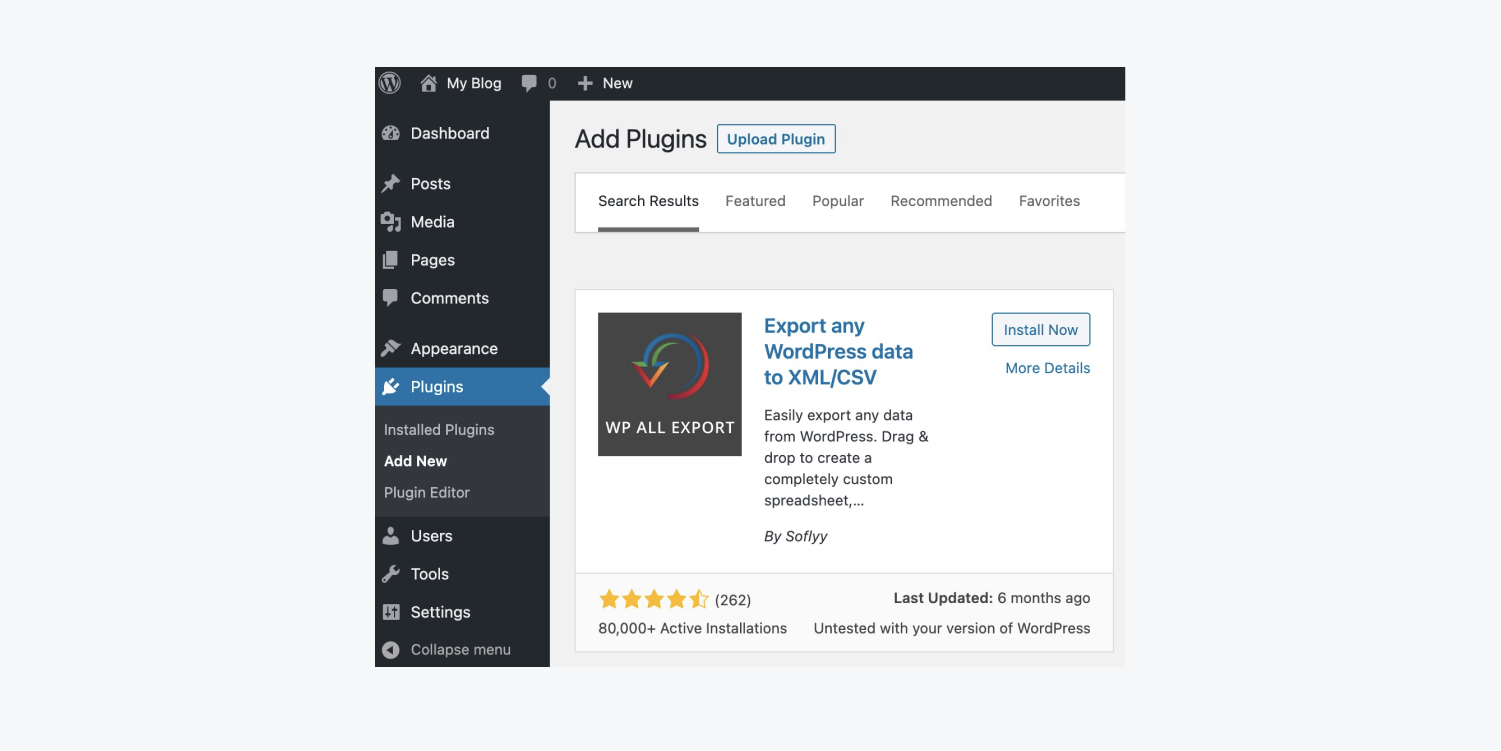
1. Installing the Plugin
First, you need to download the plugin. To do that go to the plugins tab on your WordPress admin dashboard, then select the “Add new” button, and search for “Export any WordPress data to XML/CSV”.
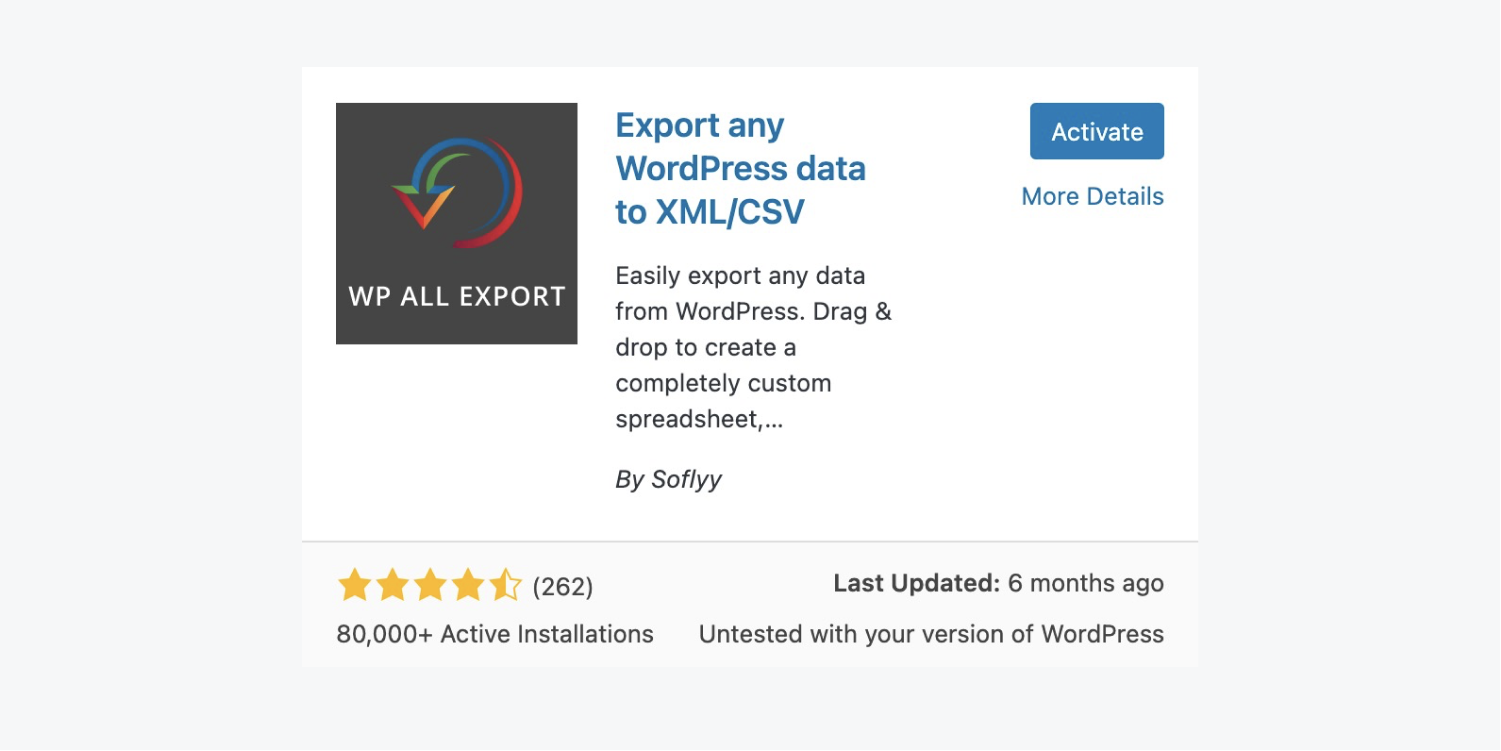
After the installation is done, click on the “activate” button to be able to use it.
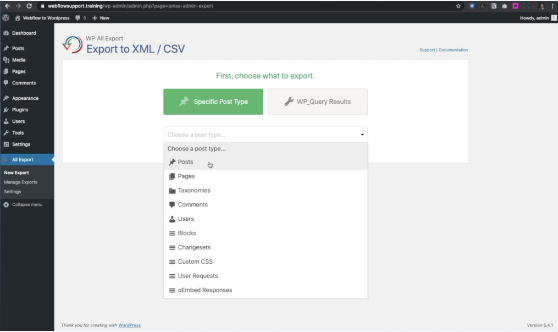
2. Specifying which content to export
After activation is complete, you’ll want to choose which content you want to export and which you want to exclude. Go to the “All export” settings on your left panel and select your content!
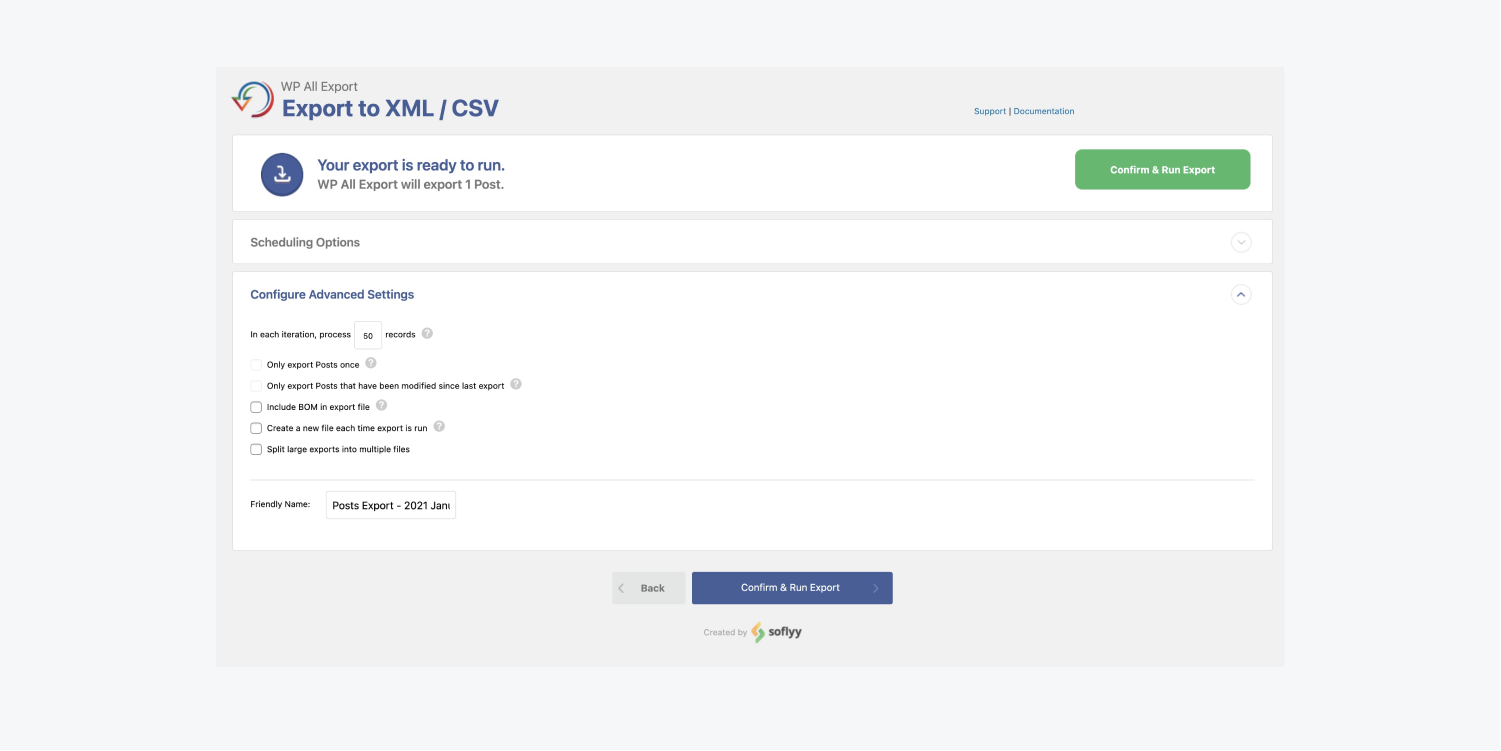
Once you’ve done that click the “Migrate posts” button and then “Confirm & Run Export” and your CSV will be downloaded to your browser. Lastly, after the CSV is ready, click the CSV button to download your file.
3. Importing your content to Webflow
Now that you have completed downloading your content, the next step is to import it into the Webflow CMS.
Here is how to do it:
- Open your collections panel on Webflow
- Choose an already existing Collection, or
- Create a new Collection
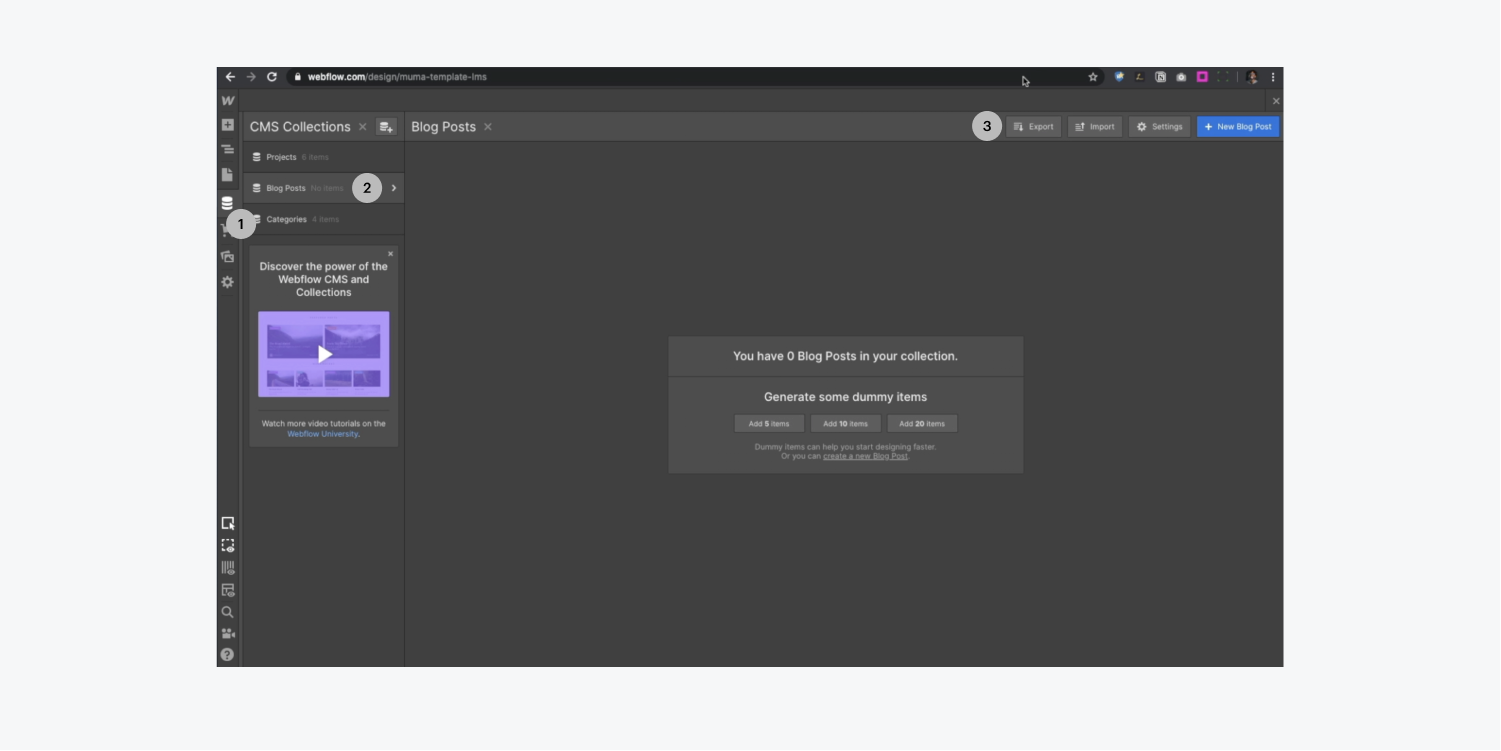
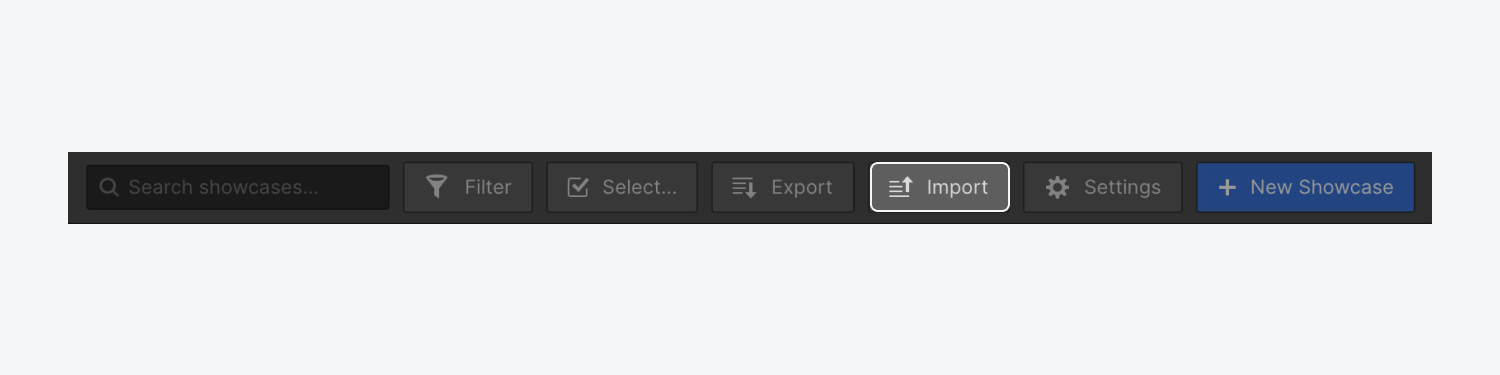
- Click on the import button on your Collection Settings
Be aware that Webflow provides users with the ability to import up to 50 Collection items for free on a starter site plan.
To upload more, you need to upgrade to the CMS or Business site plan, which allows you to upload up to 2,000 Collection items for the CMS plan and up to 10,000 for the Business plan.
Also, note that the maximum file size for a CSV file is 4 MB.
- Choose the header row
After uploading your data, a window will pop up asking you to select a header row.
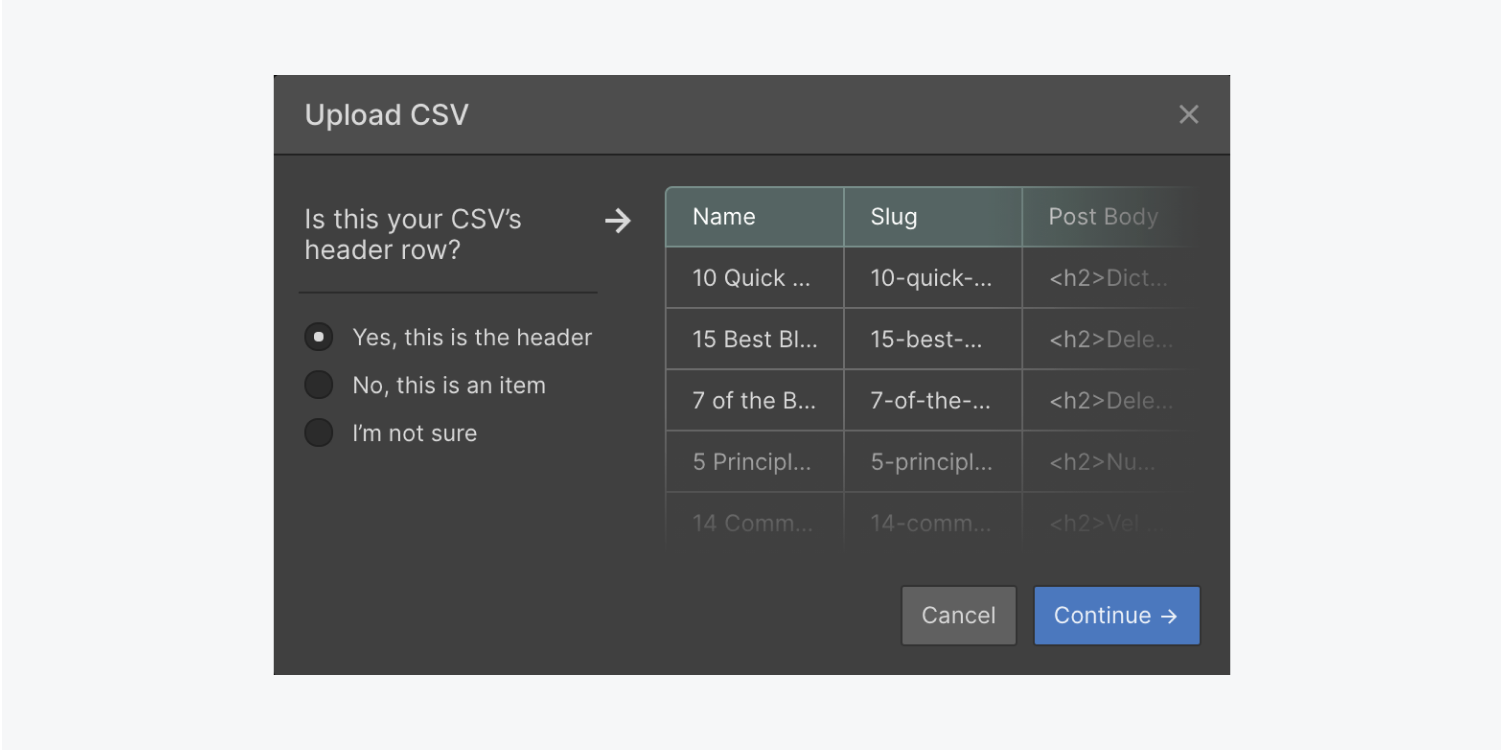
No matter what option you choose at this step of the process, either choosing any row as a header or not, you can change the header row later on in the next step, by checking or unchecking the “Header Row'' button.
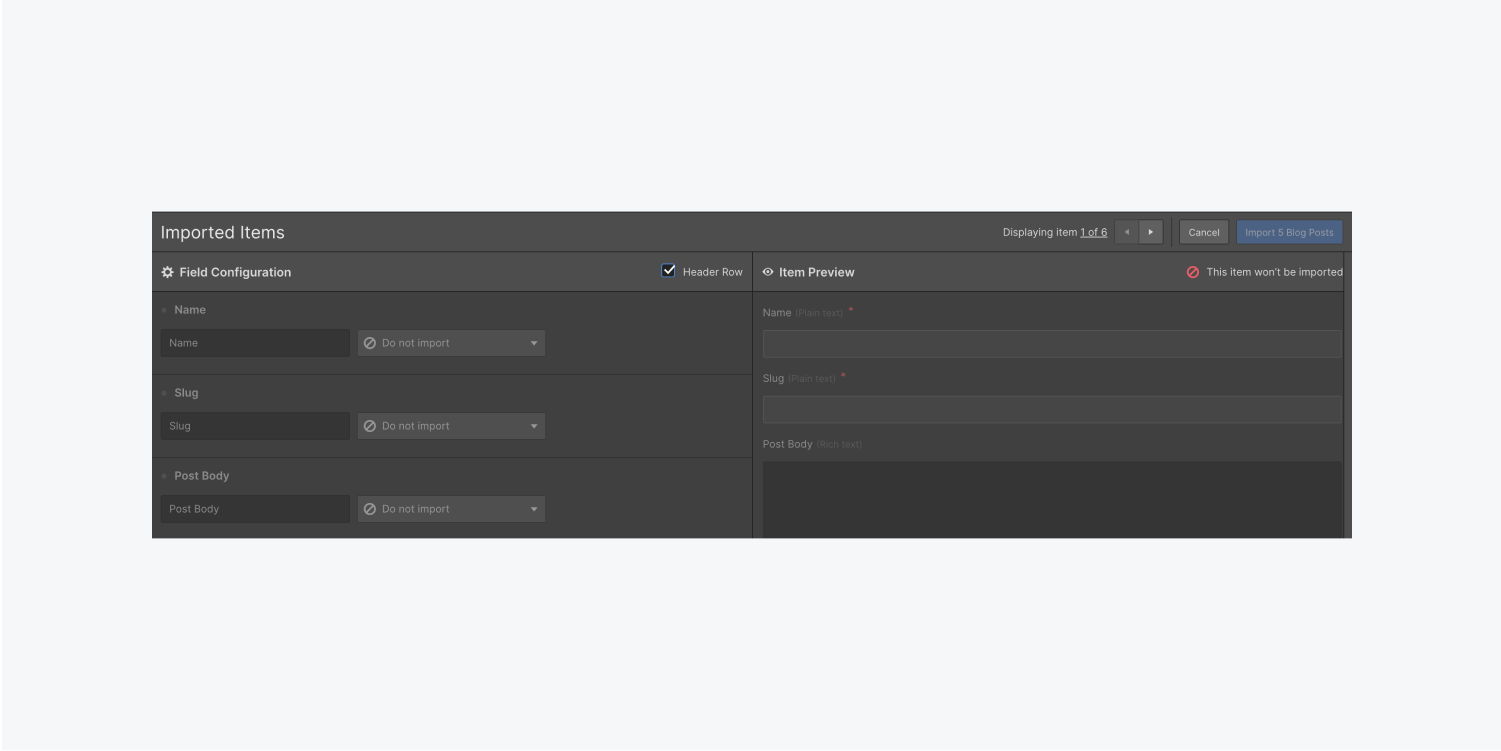
4. Mapping the fields
The final step when transferring the data is mapping the fields from CSV to that in your collection. After you do it, you just select the import button and everything will be uploaded to your Collections panel.
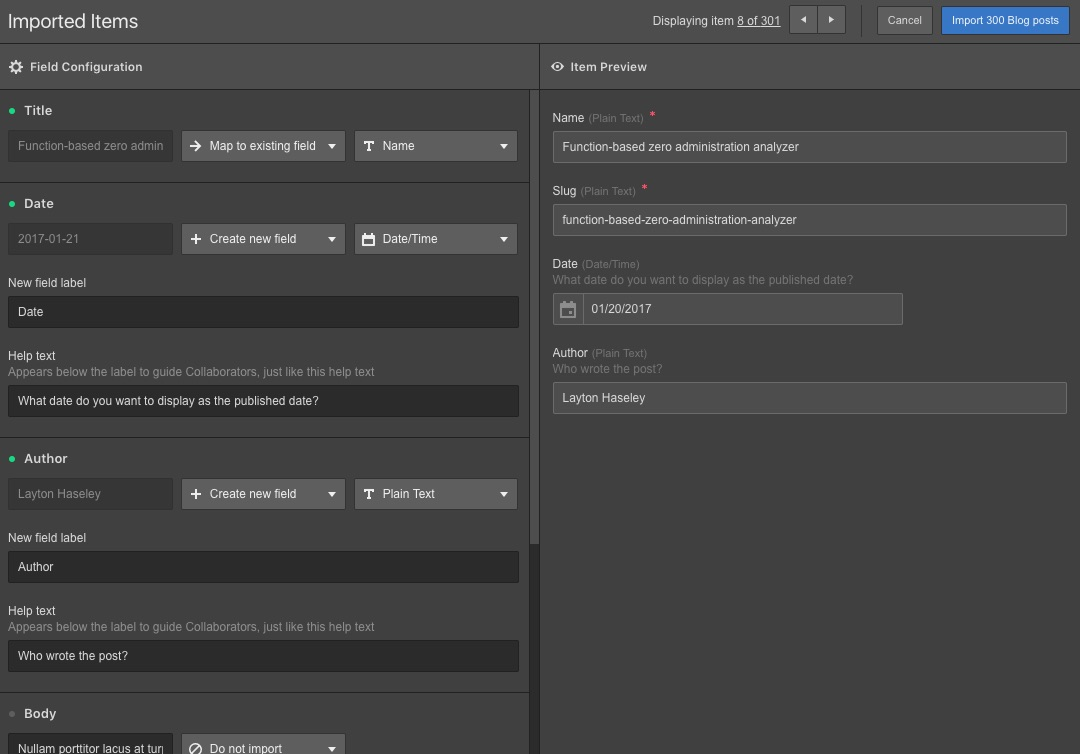
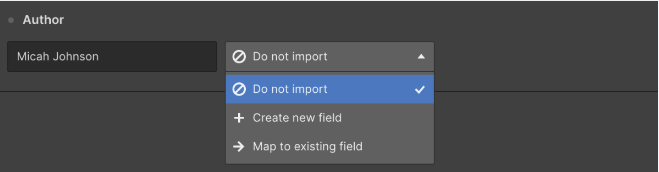
You can map your content to an existing field in your collection, create a new one or ignore that row completely.
Importing images – What to consider?
When importing images you need to be aware of formatting them correctly. If the images are mapped to the Webflow CMS images field, for example, a hero image, then the upload will be done automatically.
But, if the import is mapped to a CMS rich text field, for instance, a blog post, the images will be imported from their source URLs. Meaning, if the original site is taken down, the images will stop displaying. To avoid this, download each of the images from the rich text fields, and upload them to the CMS manually.
Extra tips to consider
Despite the specific technicalities of migration, there are some other important tips to consider before migrating. The process of migration can impact your SEO, but if done the right way it can actually increase your site ranking and traffic.
Document and audit your existing site
First, before migrating keep a backup documentation of your WordPress website, this will help you in case of any complications along the migration process.
Then continue with a site audit of your pages and URLs, by doing so you will understand which pages are getting more traffic, and decide whether to transfer them to your new website, or set up redirects.
Creating new URLs for your existing pages
After deciding which pages you want to transfer to the new website, you should start mapping those pages to the new URLs. The new URLs should be the same or as similar as possible to the old ones, otherwise entirely changing them might affect your site traffic.
Setting up Redirects
Broken pages are one of the main reasons that cause your visitors to deflect and go elsewhere. That’s why you should avoid deleting your pages without setting up redirects.
It is important to set up 301 redirects to lead your users to your new page when they try to visit your old URLs. This way you will not lose your page backlinks and they will not be shown a broken 404 page.
You can do this simply in three steps:
- Go to Project settings
- Type your links in the “Old Path” and “Redirect to Page” fields;
- Click the “Add Redirect Path” button.
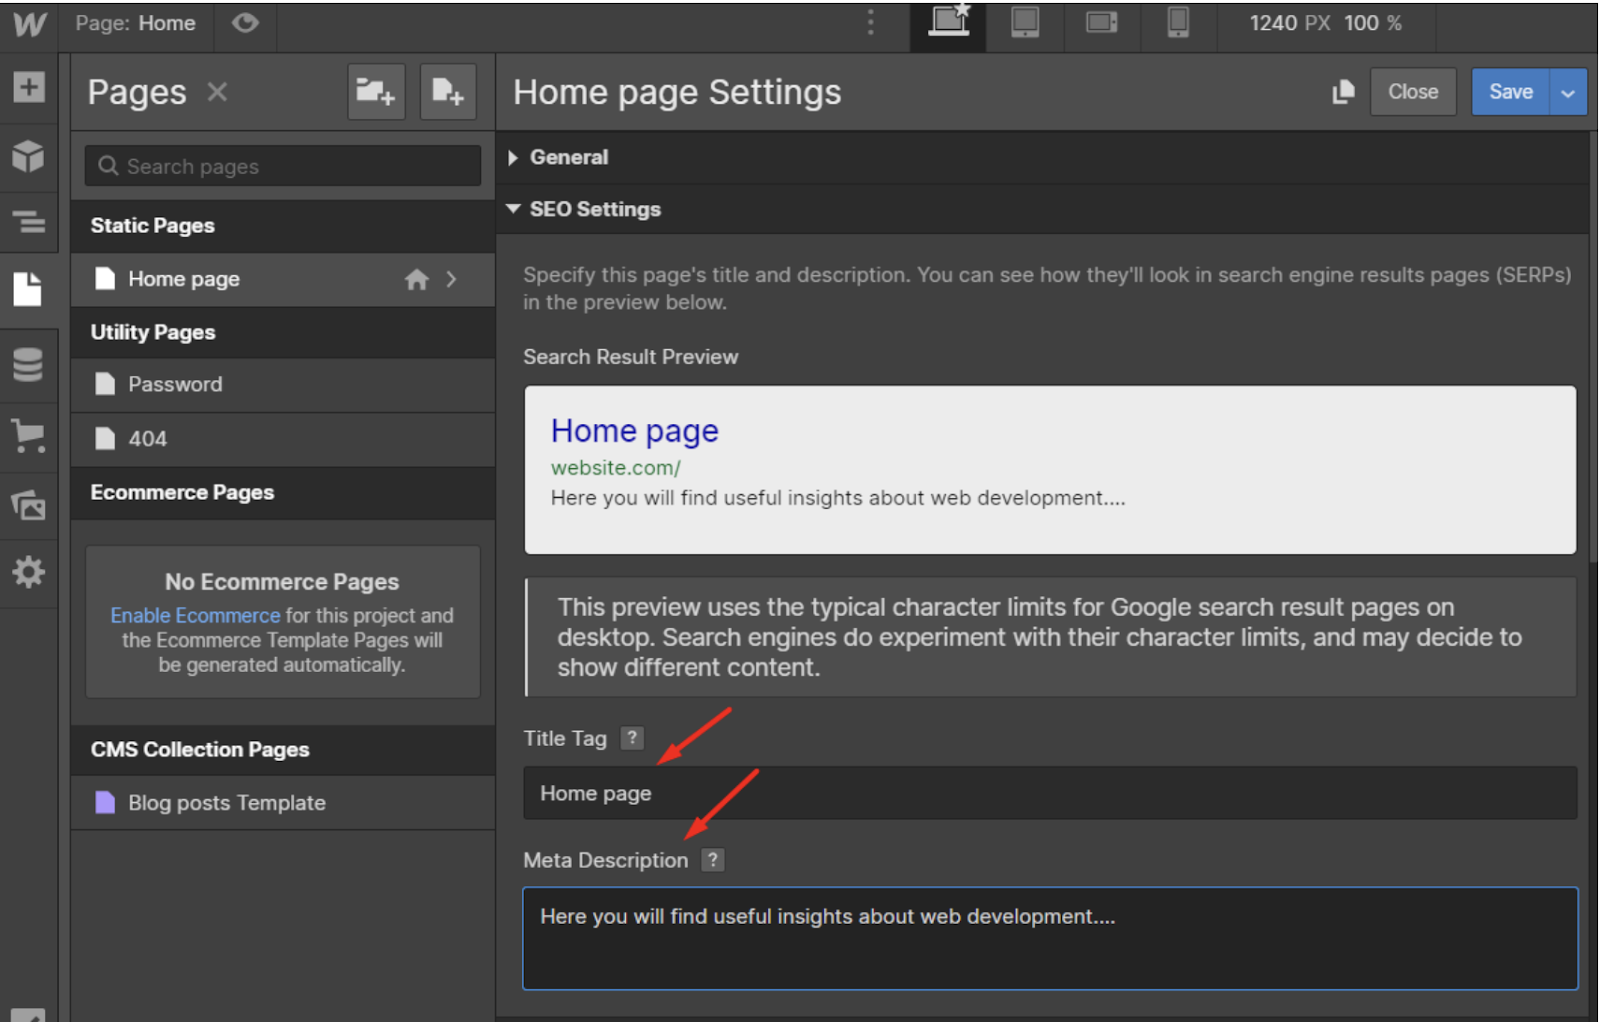
Add proper Meta Titles and Descriptions
Google reads your website's title tags and meta descriptions to determine what it is about and what keywords are appropriate to rank it for, they give information about your page’s content.
Even though they aren’t a direct factor in your site rankings, they play a crucial role in contributing to rankings and are very important to improving your click-through rate and giving exposure to your site.
To add them, go to the “Pages panel” click on the SEO settings, and then add a title tag or meta description.
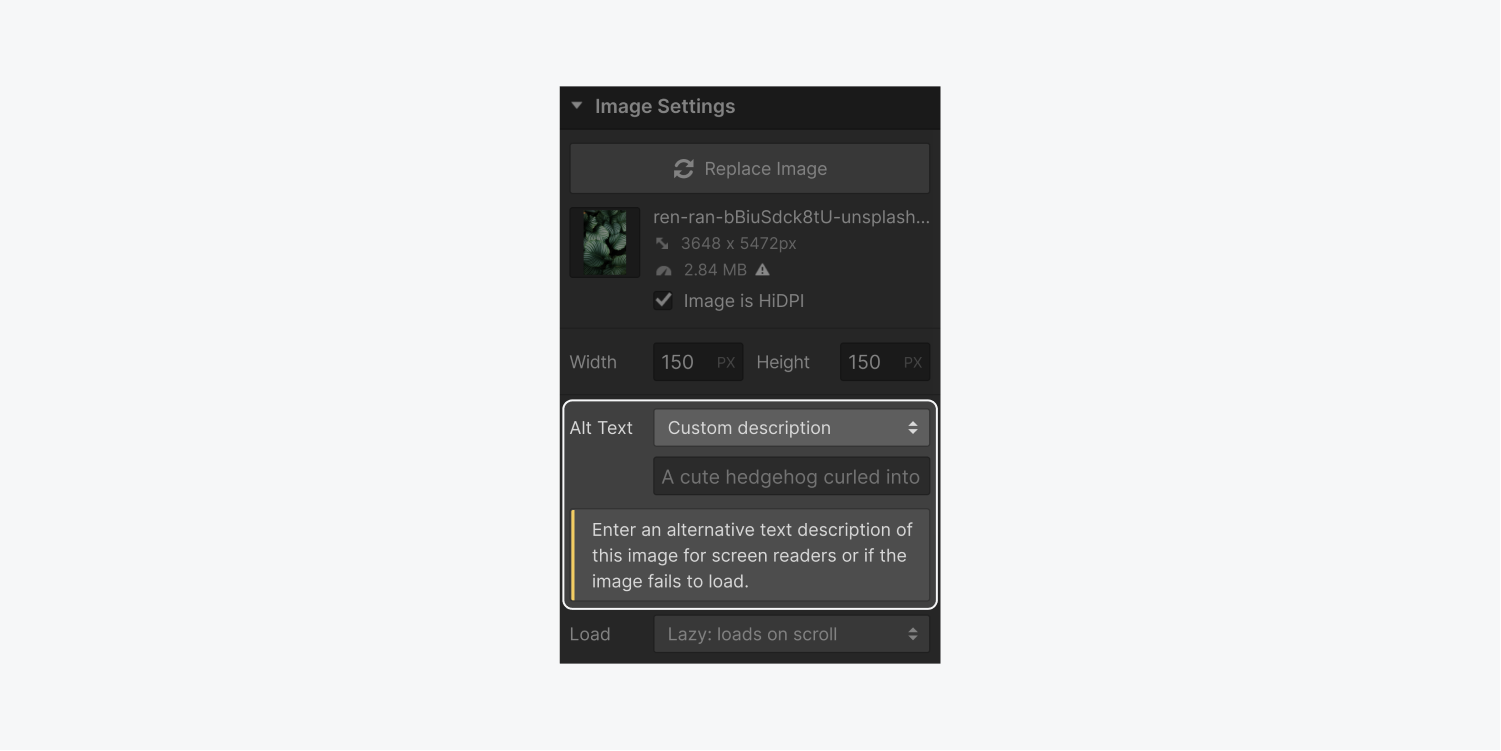
Update Alt tags
While being very important for making the website accessible to people who are blind or visually impaired, alt tags are also essential in improving your site’s search optimization. The more accurately you describe your photographs to all visitors, the easier it will be for search engines to recognize and understand that information.
To add alt text do the following:
- Click the image on the canvas
- Go to Element settings panel and select Image settings
- Hover to the Alt text section and select Custom description
- Enter the alt text in the field below the dropdown
Summary
Even though it might seem a difficult process at first sight, following the steps above will make it easier and less complicated for you to migrate your site. Though it might take a bit of time to transit, the results are worth the effort.
You will love the incredible features that Webflow offers, including sophisticated customization options, world-class loading speed, user-friendly CMS with zero maintenance, high-performance web hosting included, premium security, and many more.
As you are migrating to Webflow, you can use and get inspired by our creative and flawless user experience on some of our recent Webflow templates intended for any user and industry. We hope you find this guide helpful and informative and avoid the mistakes many make while going through this migration process.